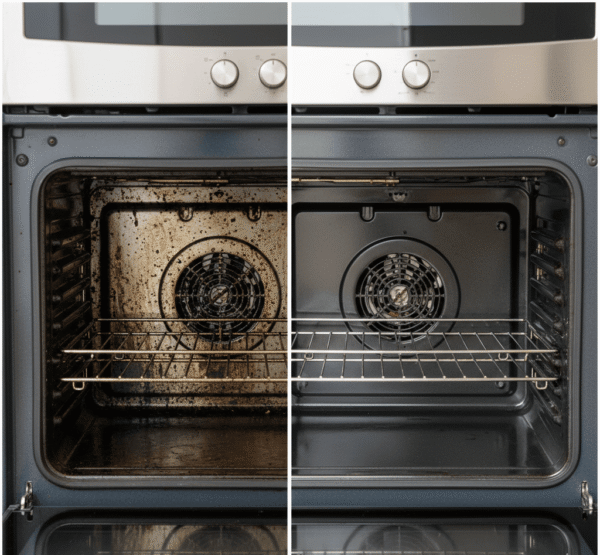
Keeping a kitchen clean is essential for both health and comfort, and a deep cleaning oven is one of the most overlooked but impactful tasks. Whether it’s baked-on grease or lingering food odors, neglecting your oven can affect the taste of your meals and the overall cleanliness of your home. In this guide, we’ll walk you through professional-level tips for appliance cleaning that will leave your oven sparkling and hygienic.
Even if you wipe your oven weekly, residue builds up over time. Here’s why a thorough deep cleaning oven session is crucial:
Hygiene: Old grease and food particles harbor bacteria.
Efficiency: A clean oven heats evenly, reducing cooking times and energy usage.
Safety: Grease buildup can cause smoke or even kitchen fires.
Transitioning from routine wipes to a deep clean ensures your appliance not only looks great but works at peak performance.
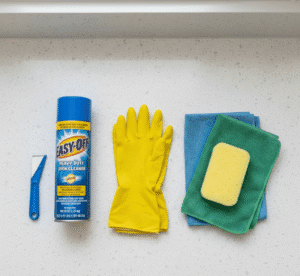
Before you start, gather your supplies for an effective deep cleaning oven:
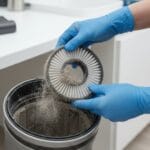
Protective gloves and mask – essential for safety.
Non-toxic oven cleaner or baking soda & vinegar – gentle yet effective.
Microfiber cloths and sponges – for scrubbing without scratching.
Plastic scraper – removes stubborn residue without damaging surfaces.
Using the right appliance cleaning tools ensures the process is safer, faster, and more thorough.
Follow these steps for a professional-quality deep cleaning oven:
Remove racks, trays, and any detachable components.
Lay old newspapers or towels around the oven to catch drips.
For commercial cleaners, follow instructions precisely.
For DIY: make a paste of baking soda and water, apply generously to oven surfaces, avoiding heating elements.
Allow the cleaner to penetrate for 20–30 minutes or overnight for tough grime.
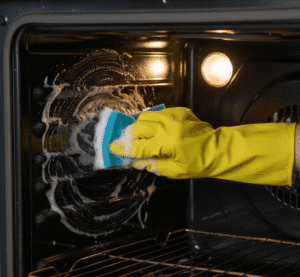
Use a microfiber cloth or sponge, gently scrubbing in circular motions.
For stubborn spots, use a plastic scraper carefully.
Soak racks in warm, soapy water for 30–60 minutes.
Scrub with a brush and rinse thoroughly before replacing them.
Wipe all surfaces with a damp cloth until no cleaner residue remains.
Dry with a microfiber towel for a streak-free finish.
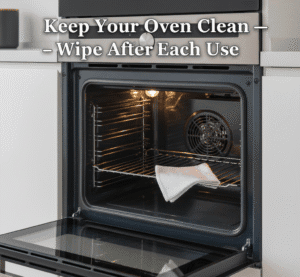
Once your oven is sparkling, prevent buildup with these appliance cleaning habits:
Wipe spills immediately after the oven cools.
Use oven liners for easier cleanup.
Schedule deep cleaning oven sessions every 3–6 months, depending on usage.
Implementing these simple steps prolongs the life of your appliance and keeps your kitchen fresh.
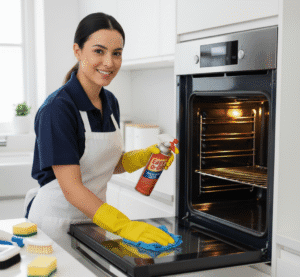
Sometimes, DIY isn’t enough. If grease layers are extreme or you want a truly deep cleaning oven experience, hiring a licensed cleaning service ensures:
Safe handling of harsh cleaners.
Efficient removal of tough, baked-on grime.
Extra time saved for other home tasks.
For a trusted professional service, check out Excellence Maids’ appliance cleaning services for a sparkling kitchen without the hassle.
For eco-friendly cleaning alternatives, see EPA guide to safe home cleaning.
Learn more about keeping your entire kitchen spotless with our kitchen cleaning tips.
Explore our full residential cleaning services for expert help in maintaining a pristine home.